customisez les bougies de l’avent
15/11/2023
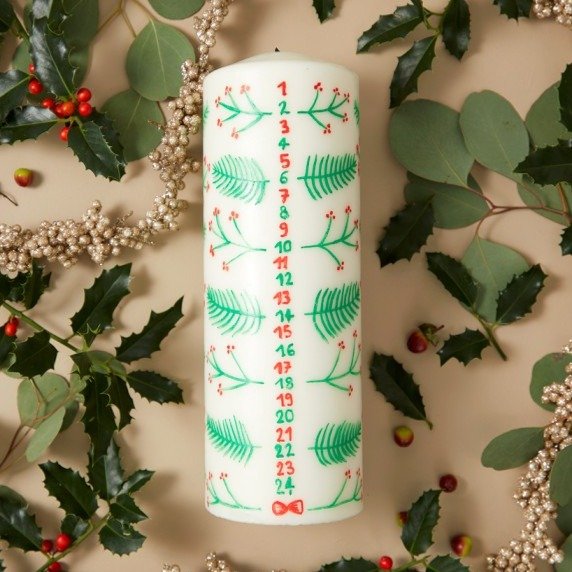
Découvrez comment apporter une touche personnelle à votre saison des fêtes en créant vos propres Bougies de l'Avent DIY.
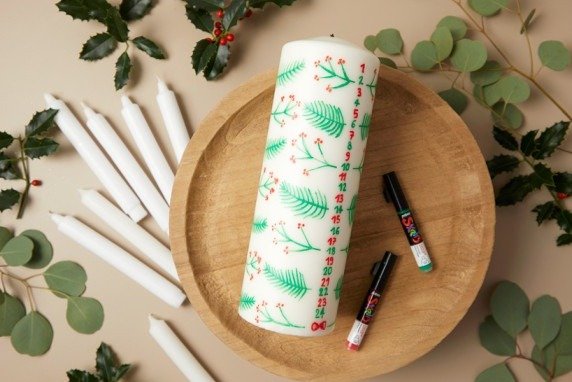
Matériels :
- Bougies de l'Avent non décorées
- Marqueurs skrib acryliques (diverses couleurs)
- Feuilles de papier pour esquisses
- Ruban adhésif délicat
- Sèche-cheveux (optionnel)
Niveau de difficulté :
- Temps de séchage : 3 heures
- Temps de réalisation : 2 h
- Difficulté : facile - À partir de 4 ans
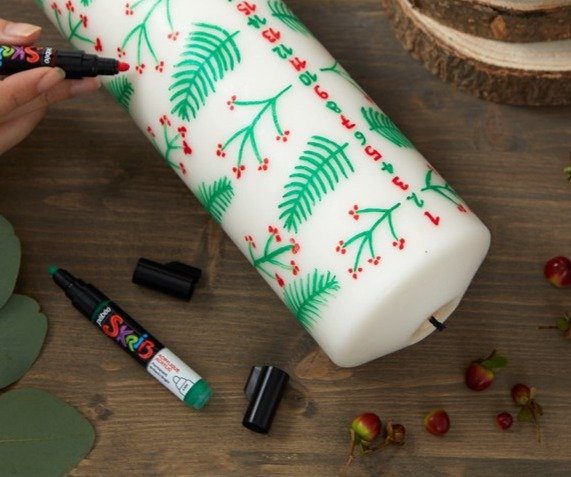
Étape 1 : Préparation et esquisses
- Préparez votre espace de travail en recouvrant la surface pour éviter les taches. Rassemblez tous les matériaux nécessaires.
- Sur une feuille de papier, esquissez les motifs que vous souhaitez ajouter à vos bougies. Cela vous permettra d'avoir une idée claire avant de commencer la décoration.

Étape 2 : Application des couleurs
- Utilisez les marqueurs acryliques pour colorer et décorer la bougie selon vos esquisses. Soyez créatif et expérimentez avec différentes couleurs et motifs. Les pinceaux fins peuvent être utilisés pour des détails précis.
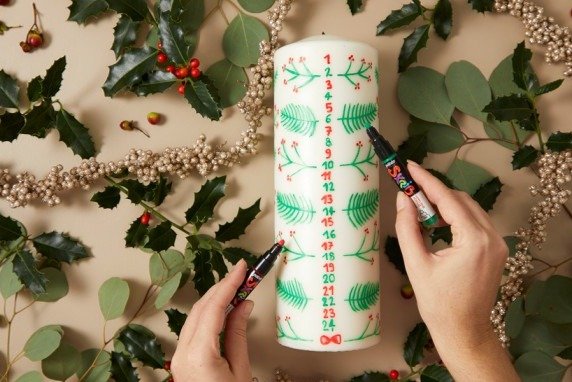
- Laissez la peinture sécher complètement. Utilisez un sèche-cheveux à basse température pour accélérer le processus si vous êtes pressé.
- Inspectez votre création et ajoutez des détails supplémentaires si nécessaire. Assurez-vous que la peinture est complètement sèche avant de manipuler les bougies.
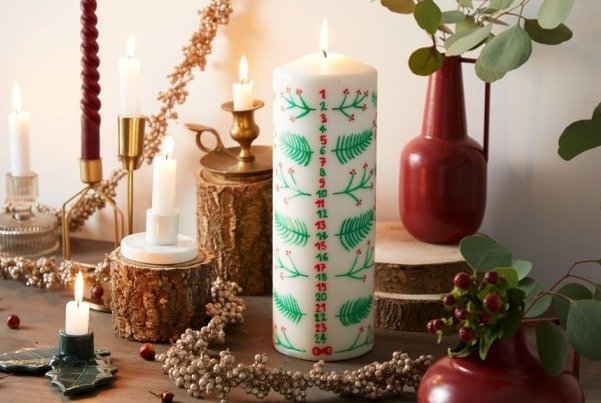
- Disposez vos bougies de l'Avent personnalisées de manière attrayante. Elles sont maintenant prêtes à être utilisées dans la décoration de votre maison pour la période de l'Avent.
Produits Connexes
à lire aussi
@PEBEO Suivre Pébéo sur Instagram
Newsletter
Inscrivez-vous à notre Newsletter et restez informé de nos actualités. Pour en savoir plus sur la gestion de vos données personnelles et pour exercer vos droits, cliquez, ici
